Introduction
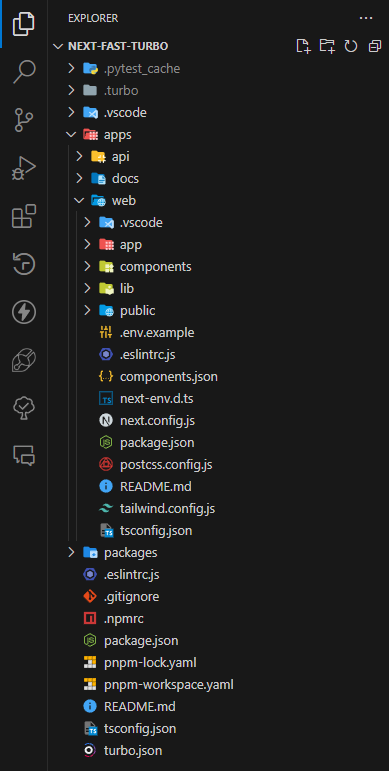
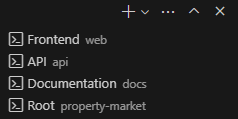
Next-Fast-Turbo ‘s codebase is set up in a monorepo (via Turborepo) and is fully open-source. Here’s the monorepo structure:apps directory contains the code for:
web: The frontend of the Next-Fast-Turbo’s applicationapi: Next-Fast-Turbo’s FastAPI backend - written in Pythondocs: Next-Fast-Turbo’s documentation site
packages directory contains the code for:
eslint-config: ESLint configurations for Next-Fast-Turbo’s codebase. Boilerplate code included as part of the create Turbo commandtypescript-config: TypeScript configurations for Next-Fast-Turbo’s codebase. Boilerplate code included as part of the create Turbo command
Running Next-Fast-Turbo
Step 1: Local setup
Clone the repo
Clone the Next-Fast-Turbo repo.
Install dependencies
Change to the root directory of the cloned repository and install the dependencies using the following command:
Step 2: Python setup
In a monorepo, VS Code sometimes uses the wrong Python interpreter, leading to module not found errors. You can open the
api folder in its own VS Code window, but using
the pre-configured Workspace is recommended.api directory:
Install dependencies (if not using Poetry)
Run the following command to install the Python dependencies:
Step 3: Creating tables in Supabase
Next-Fast-Turbo uses Supabase as the database for the backend. You’ll need to create a new project in Supabase and then create the required tables. To get this example running, you need to only create two tables in Supabase.Create an account and new project
Visit Supabase and register an account. Once you’re logged in, create a new project and give it a name.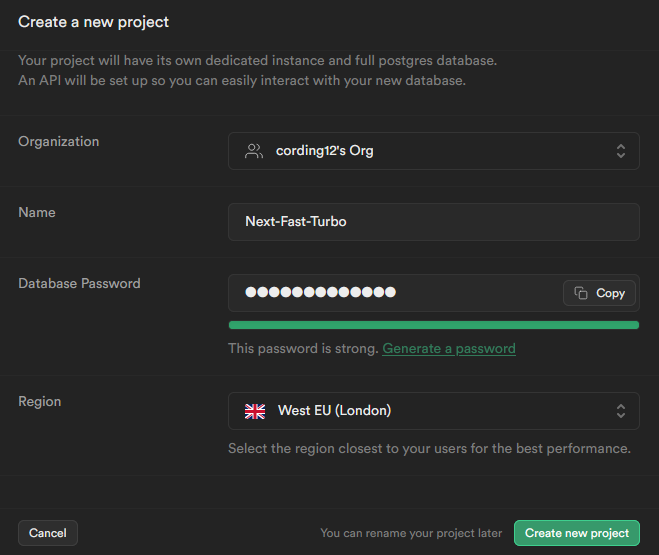
Add credentials to `.env`
While your project is building, copy the 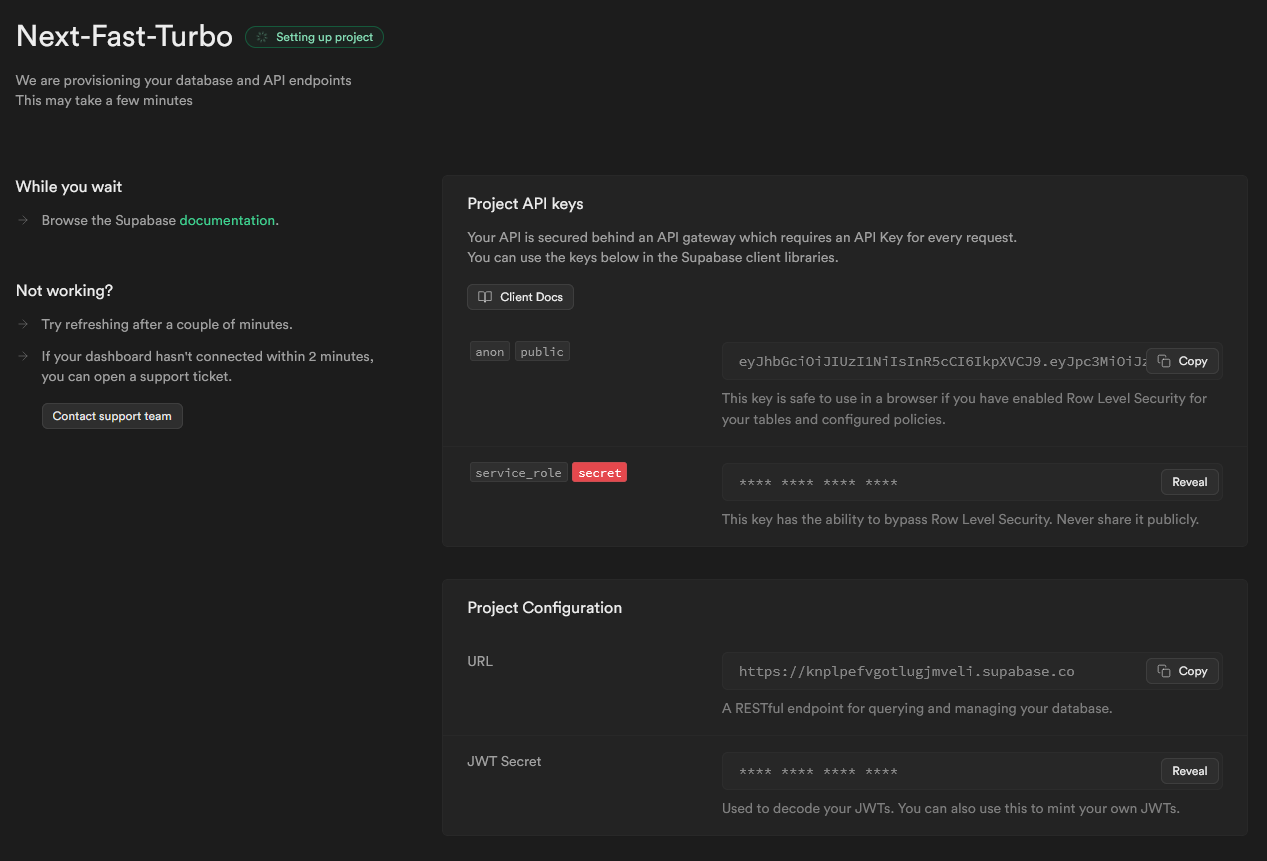
Project API Key and URL values and add these to the .env file in the api directory, as described in step 3 of the Python setup.Create tables
The tables are seeded with the two 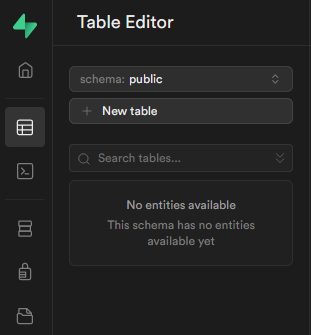 Create the
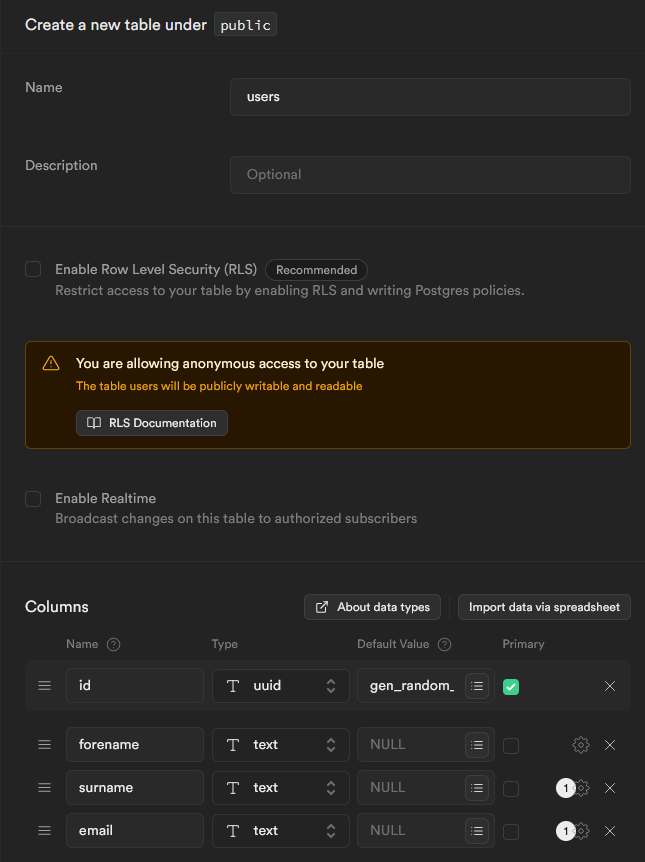
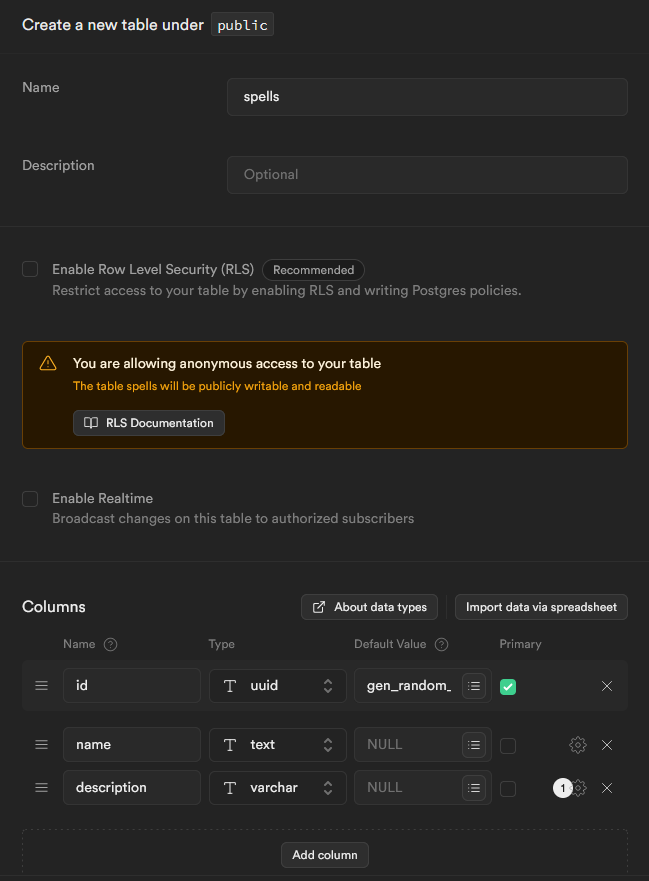
.csv files located in the api root, but the tables must be created before seeding.From the dashboard, visit the Table Editor and click the New table button.users and spells tables with columns that match their respective CSV columns. Below is how they are both configured:- Users table
- Spells table

Step 4: Configure Turbo remote caching (optional)
Turborepo can use a technique known as Remote Caching to share cache artifacts across machines, enabling you to share build caches with your team and CI/CD pipelines. By default, Turborepo will cache locally. To enable Remote Caching you will need an account with Vercel.Login via Turborepo CLI
From the project root, run the command:This will authenticate the Turborepo CLI with your Vercel account.
Step 5: Running everything
To make the most of Turbo’s monorepo structure, you can run the frontend, backend and documentation site simultaneously. From the root, run the following command:root
Working with a monorepo in VS Code
For a better development experience, you can use VS Code Workspaces for the monorepo. This will allow you to run tasks and debug the codebase from a single window, while keeping things more organised. Furthermore, VS Code doesn’t handle Python virtual environments particularly well when working within a monorepo. Running thedev command from the project root can make VS Code use your global Python installation,
instead of the .venv created in the api root. By using a Workspace, this alleviates the problem.
For a more detailed guide on setting up a monorepo in VS Code, check out the official Multi-root Workspaces documentation
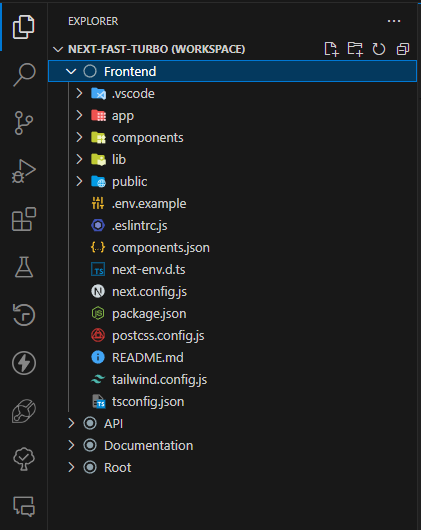
Step 1: Open the monorepo
In the/.vscode/ directory, you’ll find a next-fast-turbo.code-workspace file. Open this file in VS Code to open the monorepo Workspace.
- No code-workspace
- With a code-workspace
Step 2: Running tasks
VS Code will try to autodetect tasks from gulp, grunt, npm, and TypeScript project files across all folders in a workspace as well as search for tasks defined in tasks.json files. The location of tasks is indicated by a folder name suffix
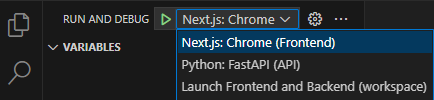
Step 3: Debugging
With multi-root workspaces, VS Code searches across all folders forlaunch.json debug configuration files and displays them with the folder name as a suffix.
Additionally VS Code will also display launch configurations defined in the workspace configuration file.
Workspace launch configurations
If you want to create a Workspace level configuration with compound launch, you can edit thenext-fast-turbo.code-workspace file and add the configurations you wish to launch.
A compound launch configuration can reference the individual launch configurations by name as long as the names are unique within the workspace, for example:
Optional: Extensions
Python Envy
Python Envy
Helps VS Code identify the correct Python virtual environment when installed in the working directory. This is especially useful when working with Python in a monorepo, as it can be difficult for VS Code to manage multiple virtual environments.Python Envy
Workspace Terminals (recommended)
Workspace Terminals (recommended)
Next Steps
Turbo config
Configuring Turbo for your monorepo
FastAPI config
Configuring FastAPI
Frontend config
Configuring Next.js
Documentation config
Configuring Mintlify for documentation